

THE BACKSTORY
WE had the opportunity to move across the ocean to Copenhagen, Denmark. My husband’s job posted him there for three years beginning in 2019. I stayed behind to allow our kids to finish 12th and 8th grade with the plan of moving myself, our son and our dog to Copenhagen in June of 2020. Well… 2020 had other plans for everybody and we ended up delayed by a few months.
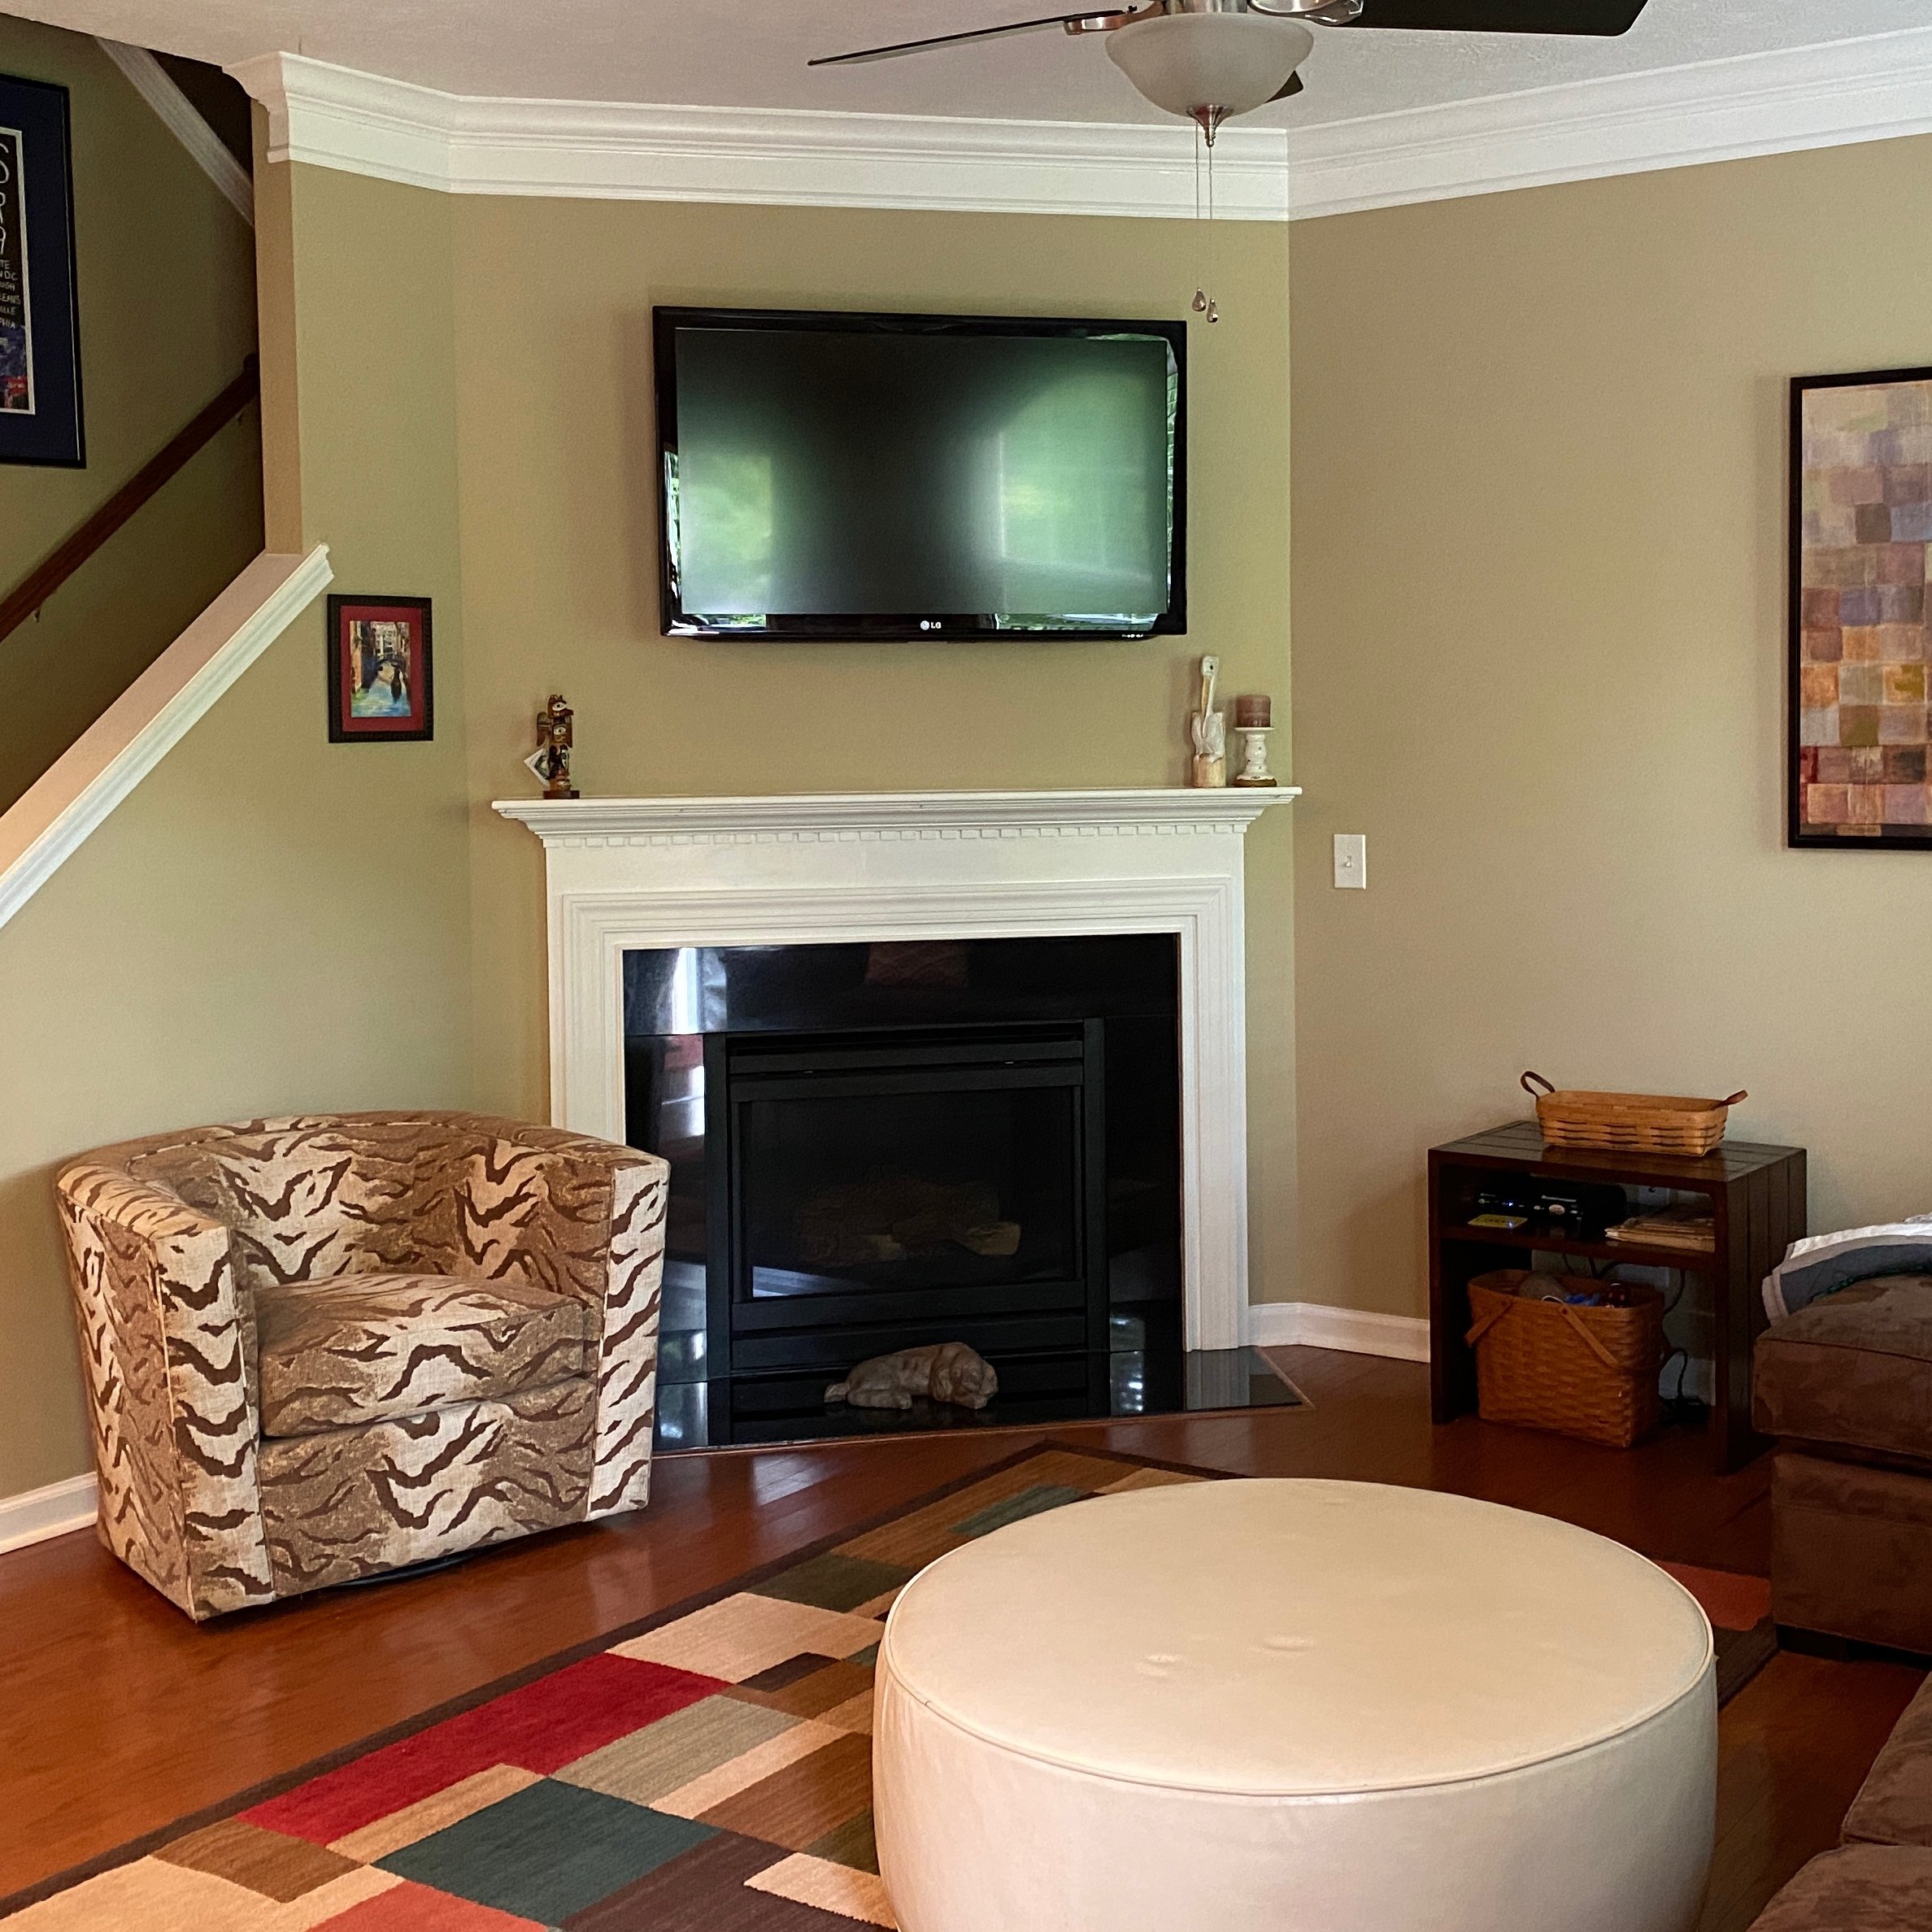
We decided to sell our home and downsize to a townhouse before I moved. This would give us a place to land when we returned from our Copenhagen adventure. It also gave our college freshman a place to call home when she wasn’t at her university. Timing was tight because we were coordinating the sale of our home and the purchase of another. By the time we closed on our townhouse I had about six weeks to make changes before I moved to Copenhagen.


TOWNHOUSE TRANSFORMATION PART 1
In the six weeks after closing:
I painted 95% of the walls
I had new carpet installed
I changed out most of the light fixtures
I painted 3 bathroom vanities and changed out the mirrors
I had the kitchen cabinets painted


TOWNHOUSE TRANSFORMATION PART 2
We returned back to the US after my husband completed his assignment in the summer of 2022. Since then we have made many more changes to our home including landscaping a tiny garden, replacing a rotting deck, replacing some appliances and a full primary bath remodel.


PAINTING KITCHEN TILE BACKSPLASH
But there was one project I had on my list I really wanted to tackle… the kitchen backsplash. Since we had just gone through a primary bath remodel there was no money in the budget to replace the tile. I researched peel and stick tile but even that was out of the budget. So I turned to what I know best… PAINT!
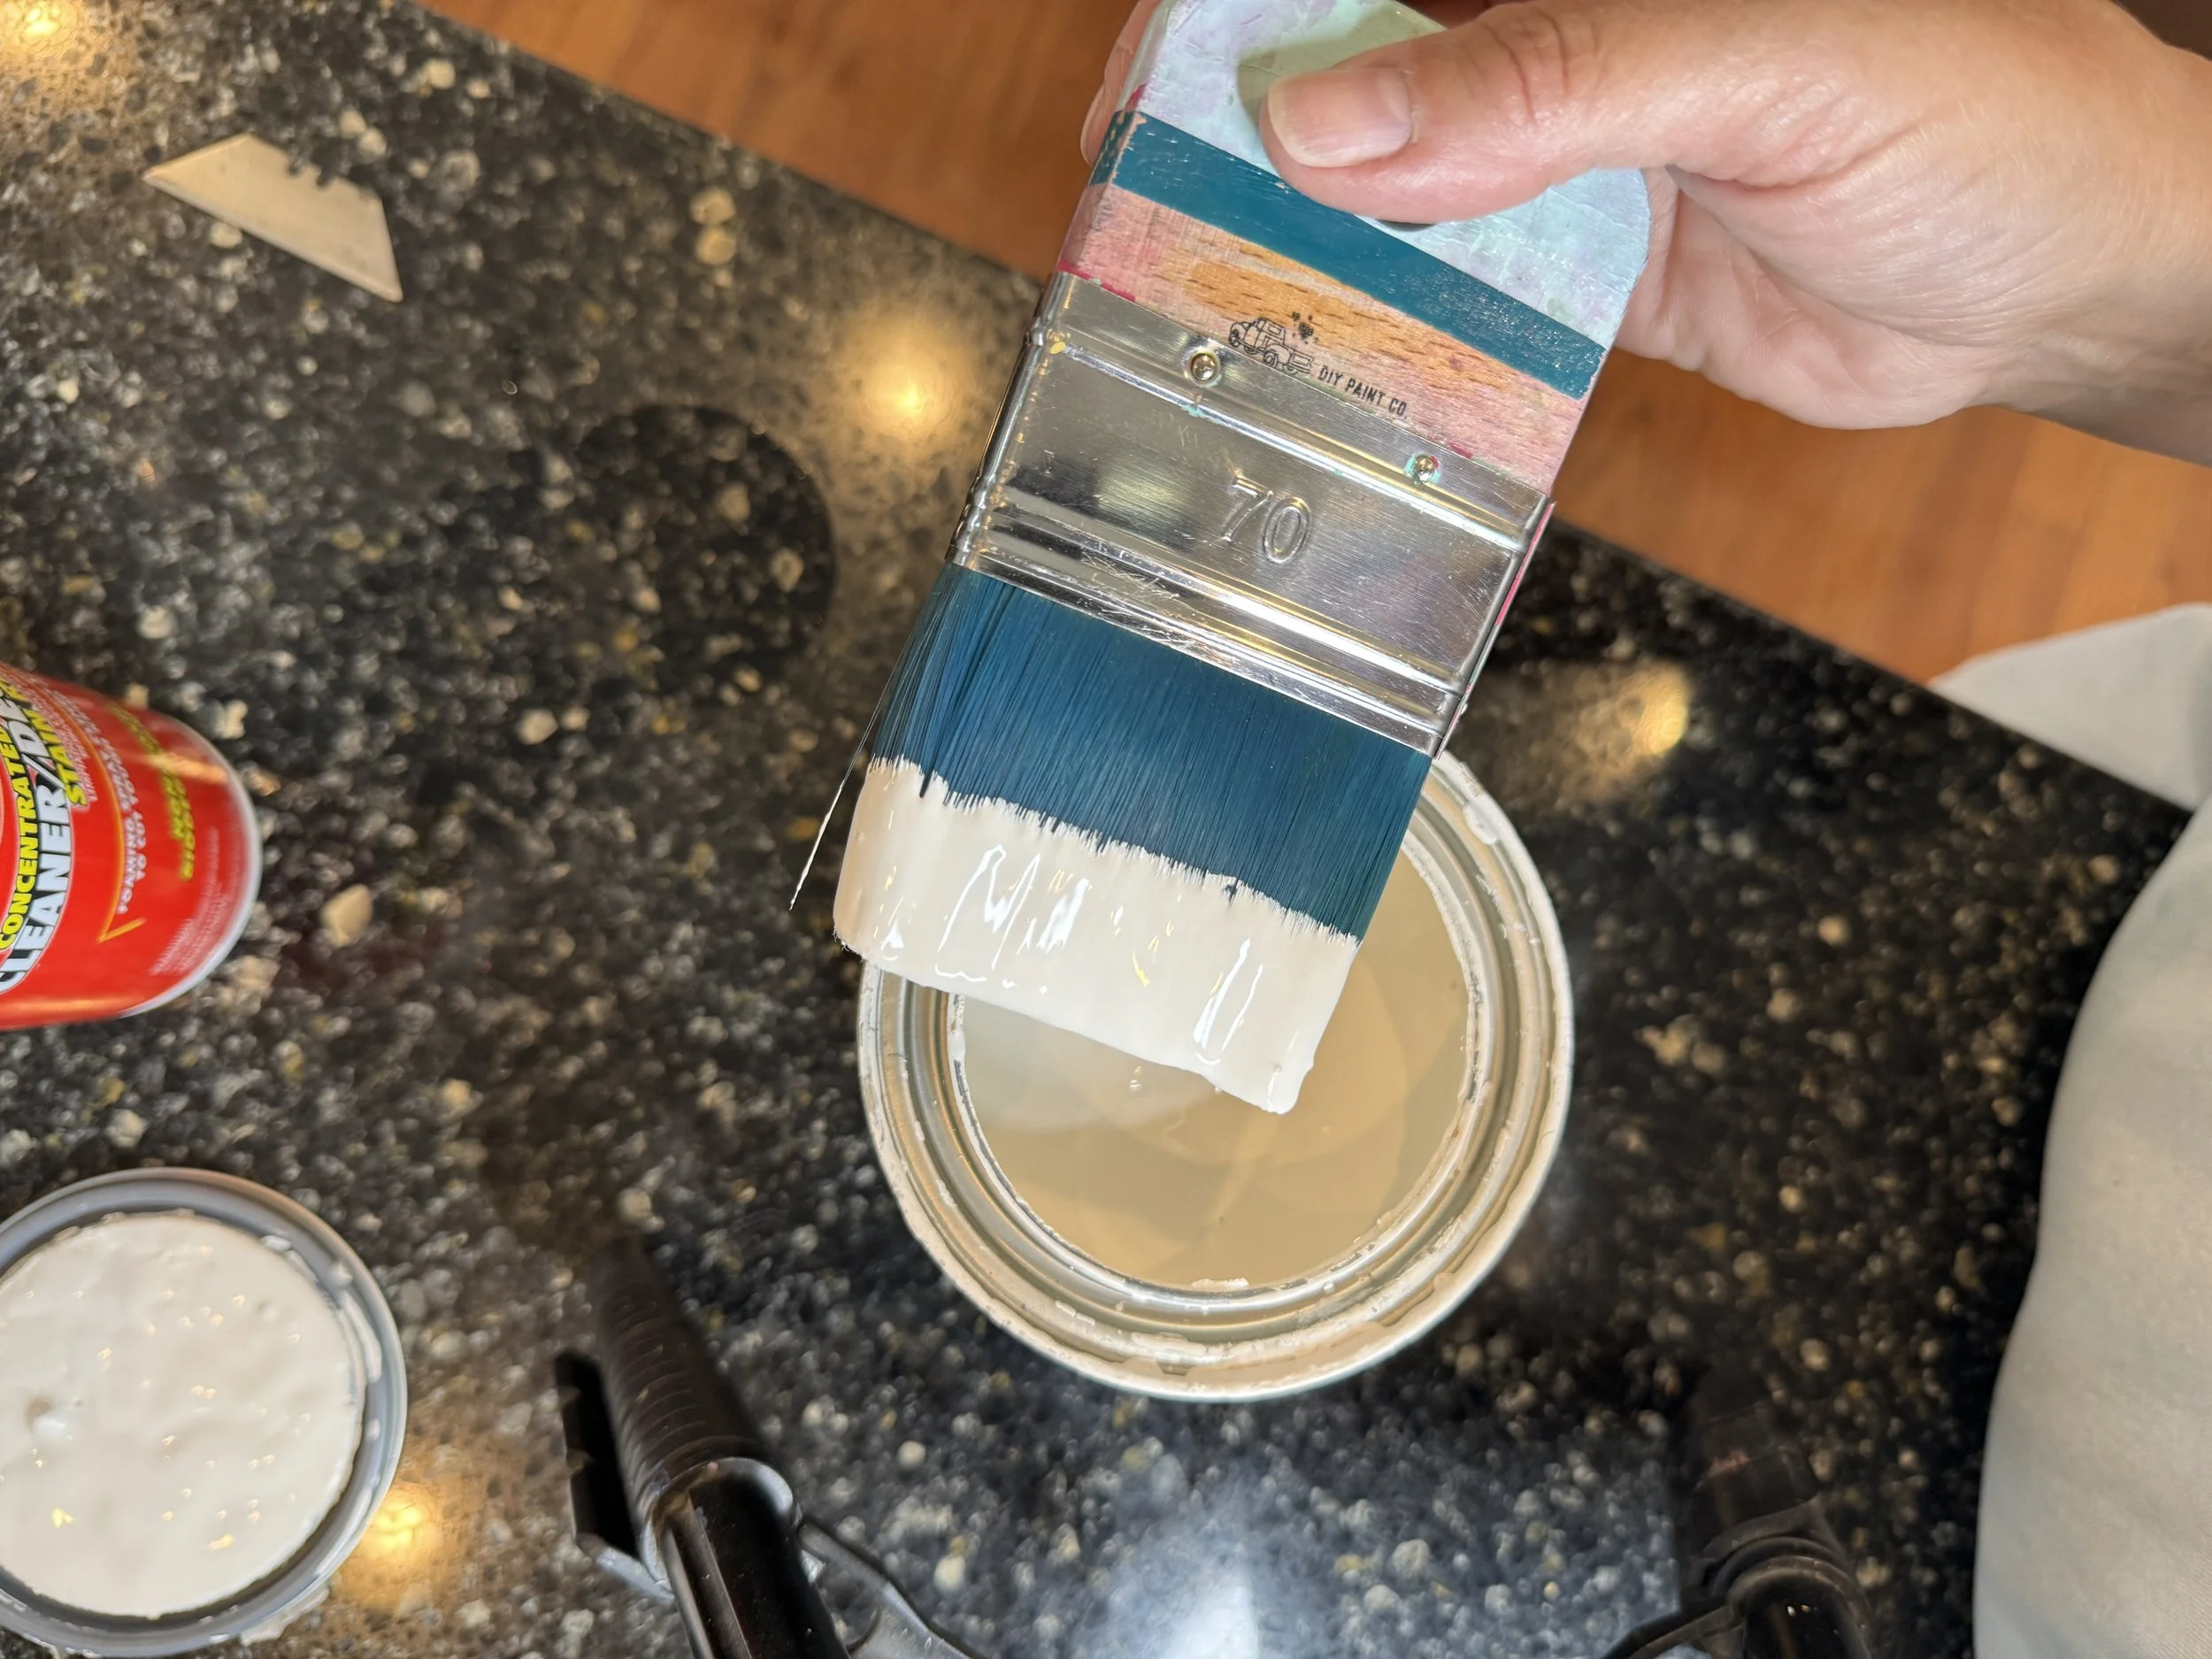
I had all of the supplies I needed on hand already so the project was budget friendly. Even if I had to buy the supplies it would be around $200. Way way less than other options. I used all Debi’s Design Diary DIY Paint.
My process was:
Prep my tiles by cleaning with a degreaser to tackle any kitchen dirt and grime and lightly sanding them
Paint a base coat of Debi’s Design Diary DIY Paint in the color White Swan, let dry at least 24 hours
Blended White Swan, Vintage Linen and Gravel Road, let dry
Dry-brushed Crinoline and Sandy Blonde for some depth
Stamped each tile with permanent ink and the Cubano Stamp by Iron Orchid Designs
Sealed everything with 3 coats of Minwax Polycrylic in Ultra Flat


I have a full step-by-step tutorial on my YouTube channel. Click the button below to watch the backsplash transformation.
End result of painting my kitchen tile backsplash
We are so so happy with it! I’ll keep everyone updated on how it holds up but I feel pretty confident. Interested in the paint and stamp I used. You can get the paint and the stamp right here!